
Listen. I don’t know how other people do it.
Other people—mystical, ethereal people—somehow manage to emerge from an eight-hour workday looking even better than when they left their house. They stroll into an evening event with their makeup miraculously intact, as if they were born with perfectly smoked-out eyeshadow and a seductive glow.
Meanwhile, I catch my reflection at 6 PM and discover that my mascara has given up, my foundation has settled into a series of tiny trenches across my face, and my lipstick has migrated everywhere except my lips.
So, I have consulted The Internet to figure out how the hell one is actually supposed to transition makeup from day to night. And because I am a giver, I am sharing my findings with you.
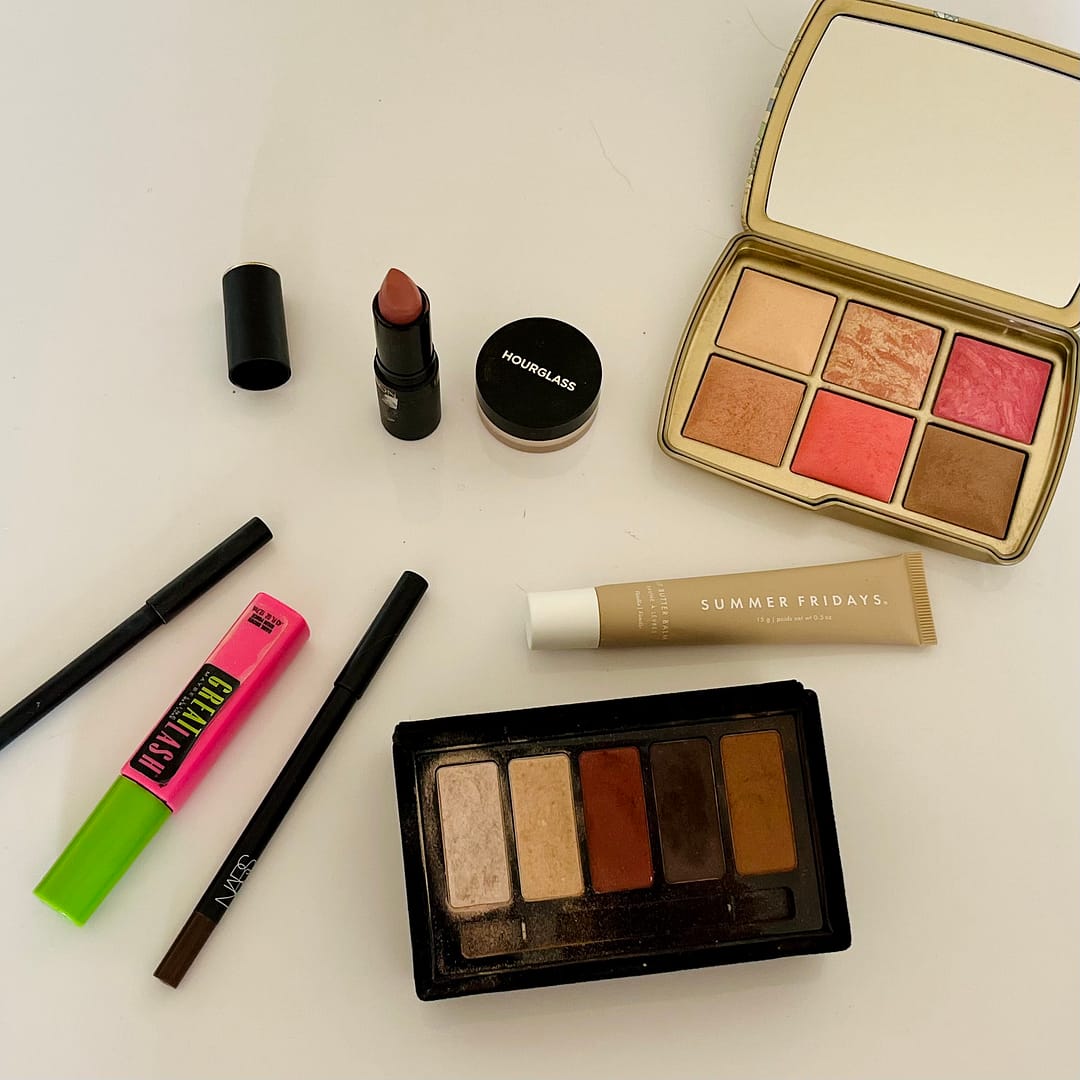
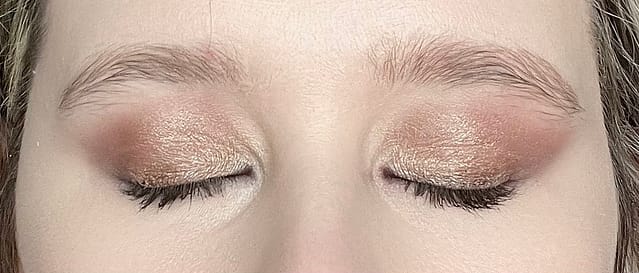
Behold, the tools I used to get me there and the daytime before pic.

1. Line Your Eyes (And Accept That This Might Go Horribly Wrong)
The first step to looking fancy is apparently adding eyeliner.
Some people claim that tightlining your upper lash line makes your eyes look subtly defined. I, personally, think it makes me look one bad blink away from raccoon status.
But! I persevere! Smudge a bit of liner (NARS Longwear Eyeliner in Via Veneto) into your lash line for a sultry effect and if it turns out uneven, just pretend it was an intentional, edgy choice.

2. Smoky Eyes (Or, Smudge Until Something Good Happens)
Here’s what I learned: the difference between a sexy, smoky eye and “I got punched in both sockets” is blending.
So, take a dark eyeshadow or eyeliner (brown, black, something vaguely moody, I used the NARS Longwear Eyeliner in Maambo) and apply it over a good chunk of your eyelid. Then blend it out. Keep blending. When you think you’re done, blend some more.
At some point, you will either:
A) Look amazing.
B) Look like you lost a fight with a charcoal briquette.
Either way, you’re committed now.

3. Completely Redo Your Eyeshadow (Which Is… Not the Plan, But Here We Are)
I originally believed that transitioning from day to night makeup would be a simple touch-up situation. Oh, sweet, naïve past me.
Apparently, the correct method is to redo most of your eye look because your morning makeup has, at this point, staged a quiet protest and left your face.
This means:
• Light shimmer shade on the lid (to fake brightness).
• Darker shade in the outer corner (for mystery).
• Something vaguely warm in the crease (because the internet says so).
If you don’t have the right shades, just use whatever’s left in your palette and hope for the best. In my case it was whatever was in my Dior palette from 2 Christmases ago.
4. Mascara: The One Thing That Actually Works
At this stage, your existing mascara is probably a flaky shell of its former self. It needs backup. Like Maybelline’s Great Lash? I’m working with what I’ve got.
Layer on a fresh coat, and suddenly you go from tired librarian to glamorous femme fatale.
Unless it clumps. In which case, you go from tired librarian to Tarantula Eyelashes, Destroyer of Worlds.
But that’s showbiz, baby.

5. Lip Balm, Because Your Lips Have Been Through Enough
I don’t care how low-maintenance you are—lip balm is non-negotiable. Your lips are tired. They need moisture. They need hydration. They need love.
A quick swipe makes any faded lipstick look alive again, and more importantly, keeps you from looking like you’ve spent the entire day trying to eat a loaf of sourdough without water. My go-to is the Summer Fridays Lip Butter Balm in Vanilla.
6. Lipstick (If You Can Be Bothered)
In theory, this is the step that elevates your entire look. A fresh coat of lipstick transforms you from “exhausted worker bee” to “effortlessly glamorous person who never spills coffee on themselves.”
In practice, this is the step where I apply a shade that looked good in the tube, then immediately regret everything.
Revlon’s Super Lustrous Matte in Pick Me Up seems like a safe bet. If it turns out to be a mistake, at least it’s a mistake in a pleasant pinky-nude.

7. Face Touch-Ups (So Many Steps, What the Hell)
At this point, I was hoping I was done, but no. I must now revive my entire face because foundation has a half-life of approximately six hours.
• Blush: Absolutely necessary because my face devours it throughout the day.
• Bronzer: Makes me look less like I’ve been living in a cave.
• Highlighter: Dab it on the cheekbones, inner corners of the eyes, and brow bone if you want to look like a person with luminance.
• Powder: Mainly to prevent that one under-eye crease from betraying you.
There are so many steps. So many.
I was able to use both the Hourglass Dragon Palette and the Hourglass setting powder here.

8. Set It, Forget It, Pray for the Best
At this point, you need setting spray.
If you don’t have setting spray, just hold your face very still and hope everything stays put through sheer force of will.

9. Exit the Bathroom Looking Like You Know What You’re Doing
And that’s it! You are now officially a “day-to-night makeup” person.
(Or, at the very least, a person who tried.)
Now go forth, be glamorous, and pretend you didn’t just spend 20 minutes aggressively blending eyeshadow in a public restroom.